WordPress Customizing the ‘Continue with’
Last updated 02/28/2025
Within the Bread & Butter WordPress plugin setup panel, you can customize the Bread & Butter ‘Continue with’ tool, including its position, theme, and custom authentication prompt text. These settings can be changed globally for all pages, or individually in the page editor.
Please note that page level settings take precedence over global settings in the Dashboard or Display Settings tab. You can find the Bread & Butter Setup panel by clicking the Bread & Butter logo at the top right when editing a post or page, or by clicking on the Options button, and selecting Bread & Butter under Plugins.
Global Customization
The global settings can be found by following these steps.
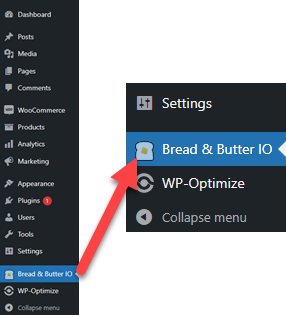
- In the left menu in WordPress Admin, click on Bread & Butter.
- Go to the Display Settings tab for ‘Continue with’ positioning, Header text & Authentication prompt
‘Continue with’ Position
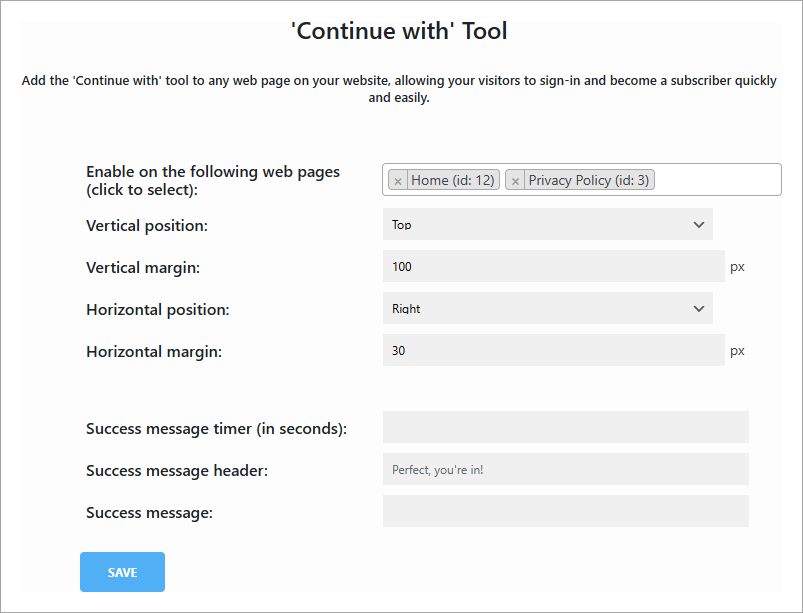
On the Display Settings tab, you can adjust the position of the ‘Continue with’ tool to better align with your content. The Margin creates space above and below, or to the left and right, of the popover.
- Set the vertical position and the top and bottom margins of the ‘Continue with’.
- Set the horizontal position and the left and right margins of the “Continue with’.
‘Continue with’ Success Message
On the Display Settings tab, you can set a custom success message that your visitors will see after signing in. You can also set how long it displays for the visitor, before it disappears:

After signing in, your visitors will see this:

Note: The default ‘success message seconds’ value is 5, if you leave it blank.
‘Continue with’ Header
On the Display Settings tab, you can adjust the text that appears at the very top of the continue with, for several different states. The “New User” text is displayed when the user is brand new to your site, and you don’t have their email address or information yet. The “Returning User” text is displayed to people who have signed in previously, and have come back to your site.
You can also set a Display Name. If you have a Display name set, then the “Display Name Set” versions of the text are displayed. If you have no Display Name set, then the “no Display Name set” versions of the text are displayed.
Currently, %APP_NAME% is the only available parameter.

Authentication Prompt
On the Display Settings tab, you can choose to blur the web page when the ‘Continue with’ is displayed. See the Authentication Prompt per page setup below for enabling this feature. Customize the default text in the paragraph fields to direct customers. The “Expand label” text is used to prompt users to read more information in a third paragraph.

Button Style
Select Icons or Tiles to display the identity provider or single sign-on options.

Per Page Customization
The per page settings can be found by following these steps.
- Open the page or post where you want to customize the Bread & Butter ‘Continue with’ tool.
- Click the Bread & Butter logo at the top right, or click on the Options button, and selecting Bread & Butter under Plugins.

‘Continue with’ Position & Success Message
You can adjust the position of the ‘Continue with’ tool to better align with your content. The Margin creates space above and below, or to the left and right, of the popover.
- Set the vertical position and the top and bottom margins of the ‘Continue with’.
- Set the horizontal position and the left and right margins of the “Continue with’.
- Set any of the success message fields, if you want this page to have a different success message content than what you set globally on the Display Settings tab.

Authentication Prompt
You can choose to blur the web page when the ‘Continue with’ is displayed. Customize the default text in the paragraph fields to direct customers. The “Expand label” text is used to prompt users to read more information in a third paragraph.

Button Style
Select Icons or Tiles under Advanced Settings to display the identity provider or single sign-on options.

Next Steps
For global changes on the Display Settings tab, click “Save” anywhere on the page to save your changes.
For per page customization, click the “Publish” button to publish your post or page.
The ‘Continue with’ is now configured for your WordPress website.
Don’t use Bread & Butter? Want to learn more about how Bread & Butter solves the four biggest problems facing marketers today? Book a demo and see how Bread & Butter is helping marketers make the most of their first-party data


Seeing changes in your match rates? With the end of third-party cookies & new regulations on how data can be shared (GDPR, CCPA or Data Protection Laws), what are you doing to make sure you aren’t caught out?
FUTURE PROOF YOUR DATA - LEARN MOREAdd authentication & API event tracking to your website/app with a script tag & configuration