WordPress User Events for User Journey
Last updated 02/29/2024
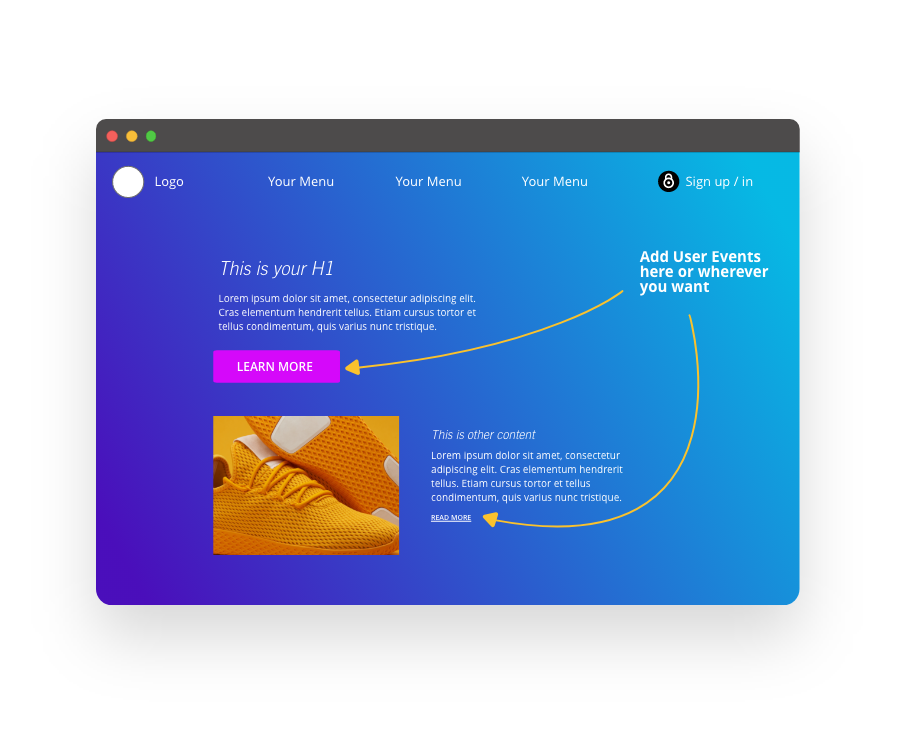
Create custom user events for specific actions on your website, and then add these events to your site’s user journey, so you can see how users progress through your site. You can also hook up these events to Integrations and Rules, to trigger actions in Mailchimp, Slack, Zapier, and more.

To get started, follow these steps:
Step 1
If you have not done so already, follow the steps on the User Events page to create your user event.
Step 2
Choose how you want the user event to be triggered on your website:
Don’t use Bread & Butter? Want to learn more about how Bread & Butter solves the four biggest problems facing marketers today? Book a demo and see how Bread & Butter is helping marketers make the most of their first-party data
Add authentication & API event tracking to your website/app with a script tag & configuration

