Webflow: Hyper-personalization
Last updated 01/25/2026
Before adding hyper-personalization text make sure you have added the initialization script tag.
With this feature, you can replace generic content with a personalized message that users only see once they have converted. For example, on your homepage, you can mention the user by name:
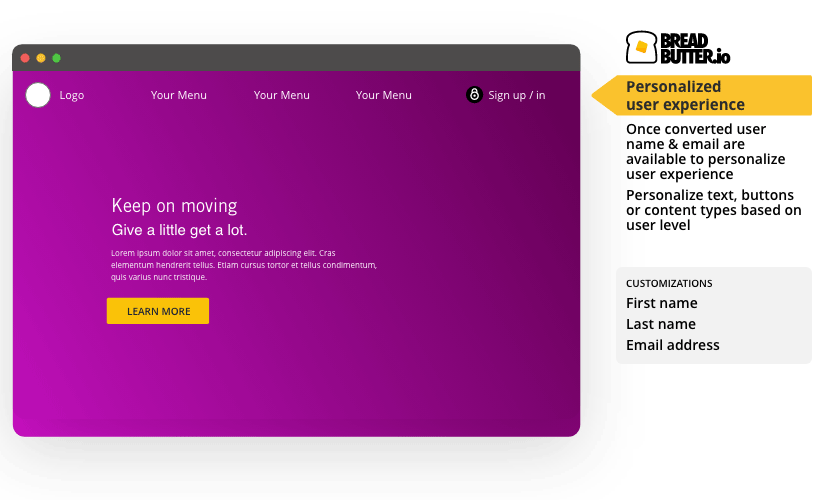
The available content to insert is First Name, Last Name, Full Name, and Email Address.
To set this up on your Webflow site, please follow these steps:
Step 1
- Find the text on your homepage, or other pages, that you want to personalize.
- Select the text field. You can find the text field by selecting it on the page, or by finding it in the Navigator in the left menu.
- In the right pane, click on the gear icon to go to Element Settings.
- Then, set the ID to a unique value (eg: grow-business), and record it for use in a later step.

Step 2
- On your Webflow Dashboard, click on the 3 dots at the bottom right of your project.
- Then, select Settings.

Step 3
Select the Custom Code from the left menu.

Step 4
In the Head Code field, paste in the following script tag after the Bread & Butter initialization script tag:
<script>
null == window.breadbutterQueue && (window.breadbutterQueue = []), window.injectBreadButter = function (e) { "undefined" != typeof BreadButter && BreadButter.init ? e() : window.breadbutterQueue.push(e) };
injectBreadButter(function () {
    BreadButter.ui.applyText('FIELD_ID', "TEMPLATE", {
        type: 'TYPE'
    });
});
</script>
Note: If you have other Bread & Butter feature snippets, just add this snippet below them.

Step 5
- Replace FIELD_ID with the ID that you set in Step 1.
Replace TEMPLATE with the new text that you want to appear when a user authenticates. You can use plain text or html, which must be specified in the TYPE below. The available customization fields are:
%FIRST_NAME%
%LAST_NAME%
%NAME%
%EMAIL%
Note: This will replace all of the text in the text field.
- Replace TYPE with the content type: either 'html' or 'text'. Use 'text' if the content is just plain text. Use 'html' if you have included HTML tags in the TEMPLATE content.
Step 6
- Click Save Changes.
- Publish your website, when ready.