Webflow: Authentication as a Service
Last updated 01/25/2026
Before adding Authentication as a Service, make sure you have added the initialization script tag.
If you have a Login or Sign in page, you can embed the Bread & Butter Authentication as a Service ‘Sign in’ tool directly on the page, like you would with any other sign in option.
Once added, the ‘Sign in’ tool works just like the instant lead capture tool, except it is on the page, instead of hovering above.

This guide explains how to add the ‘Sign in’ tool to your site.
Note: You don’t need to add the instant lead capture snippet for the ‘Sign in’ tool to work.
Step 1
Find the location on your page or header where you want to add the 'Sign in' tool.
Step 2
In the Add element menu in the left pane in Webflow, drag a Div Block element to the location you chose in Step 1.

Step 3
Select the Div Block by clicking on it on the page, or by finding it in the Navigator in the left menu.

Step 4
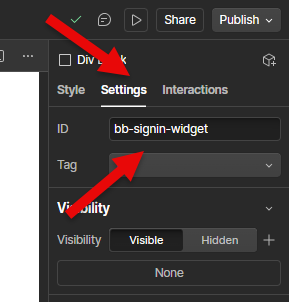
- In the right pane, click on the gear icon to go to Element Settings.
- Then, set the ID to:
bb-signin-widget
Note: The element ID is what links the Bread & Butter code to the Div element, so it knows where to put the 'Sign in' tool.
Feel free to use anything other than bb-signin-widget. Just make sure to change it both in the Div Block ID, and in the Bread & Butter code snippet, so that they remain linked.
Step 5
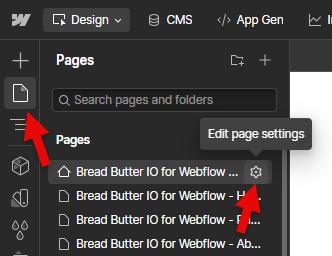
- Next, open Pages in the left nav.
- Hover over Home, or whichever page you want the 'Sign in' tool to appear on.
- Click the gear icon to open the page settings.
Step 6
Scroll down to the Custom Code section, for the Head tag.
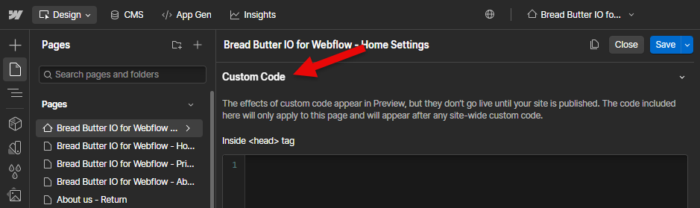
Step 7
In the Head Code field, paste in the following script tag after the Bread & Butter initialization script tag.
<script>
null == window.breadbutterQueue && (window.breadbutterQueue = []), window.injectBreadButter = function (e) { "undefined" != typeof BreadButter && BreadButter.init ? e() : window.breadbutterQueue.push(e) };
injectBreadButter(function () {
    BreadButter.ui.signIn("bb-signin-widget");
});
</script>

Step 8
- Click Save Changes.
- Publish your website, when ready.