Webflow User Events for User Journey
Last updated 10/05/2023
Before adding user events make sure you have added the initialization script tag.

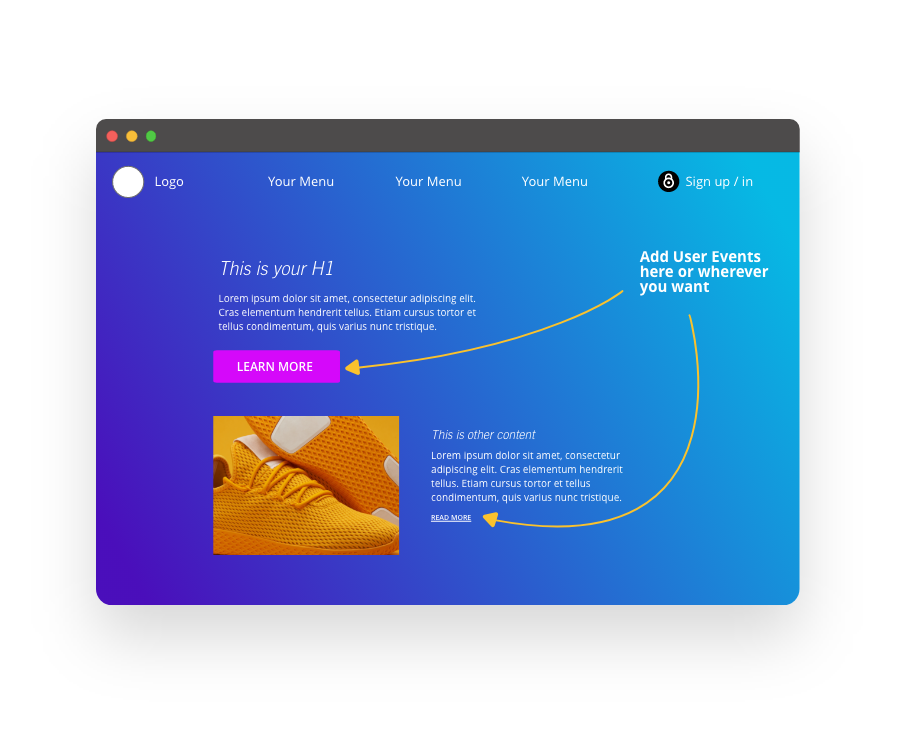
User Events are used to define your website’s User Journey, as milestones are reached for each user on your website. You can create an user event when a user does an action you are interested in monitoring, such as unlocking pricing, starting a free trial or downloading a coupon, discount code, or a (content gated) white paper or eBook. In this way, you can see where users are in their progression through your website’s journey as a customer.
Then, you can filter by custom events in the Bread & Butter Dashboard to see who and how many users have done these actions.
Note: This feature can be used with any Link, Link Block, or Button in Webflow.
Step 1
First, create your user event under User Events in Bread & Butter. For steps on how to do this, check out our User Events page.
Make sure you take note of the event code when you create it, so you can use it below.
Step 2
Find the link or button that you want to trigger the user event.
Select it by clicking on it on the page, or by finding it in the Navigator in the left menu.

Step 3
In the right pane, click on the gear icon to go to Element Settings.
Then, set the ID to a unique value of your choice.

Step 4
At the top left of the Designer screen, click on the "W" Webflow icon, and select Site Settings.
Step 5
Select the Custom Code from the left menu.

Step 6
In the Head Code field, paste in the following script tag after the Bread & Butter initialization script tag:
<script>
null == window.breadbutterQueue && (window.breadbutterQueue = []), window.injectBreadButter = function (e) { "undefined" != typeof BreadButter && BreadButter.init ? e() : window.breadbutterQueue.push(e) };
injectBreadButter(function () {
    BreadButter.ui.addEventToLink('LINK_ID', 'CUSTOM_EVENT');
});
</script>
Note: If you have other Bread & Butter feature snippets, just add this snippet below them.

Step 7
- Replace CUSTOM_EVENT with the Event code you created from Step 1.
- Replace LINK_ID with the ID you set in Step 2.
Step 8
Repeat the above steps for any other links or buttons you want to set up. You can add as many as you want into any page using the head code section.
Step 9
- Click Save Changes.
- Publish your website, when ready.
Don’t use Bread & Butter? Want to learn more about how Bread & Butter solves the four biggest problems facing marketers today? Book a demo and see how Bread & Butter is helping marketers make the most of their first-party data
Add authentication & API event tracking to your website/app with a script tag & configuration

